
This guide takes you from a fresh install to your first published event in about 10 minutes.
Setup comes in 2 parts:
- Part 1 (this guide) happens in the Event Engine app: install it, connect your HubSpot account, choose your settings, and create your first event.
- Part 2: Setting up Event Engine in HubSpot is a one-time job inside HubSpot: add your branding to the emails, turn on the workflow, and build the web page your events appear on.
Once both parts are done, you never repeat them. Running an event becomes a 2-minute job: create it in the app, hit publish, and it appears on your website with registration, confirmations and reminders all handled for you.
And if you'd rather skip the HubSpot part entirely, we'll do Part 2 for you, free. Details at the end of this guide.
What you need before you start
- A HubSpot account where you're a Super Admin. Event Engine creates properties, workflows and assets in your portal, and only an admin can grant that.
- A payment method. There's a 14-day free trial, so nothing gets charged today.
- About 10 minutes.
Step 1: Start the install
Go to app.eventenginepro.com and click Sign up.
You'll land on the Install EventEngine page. Click the green Install EventEngine button.
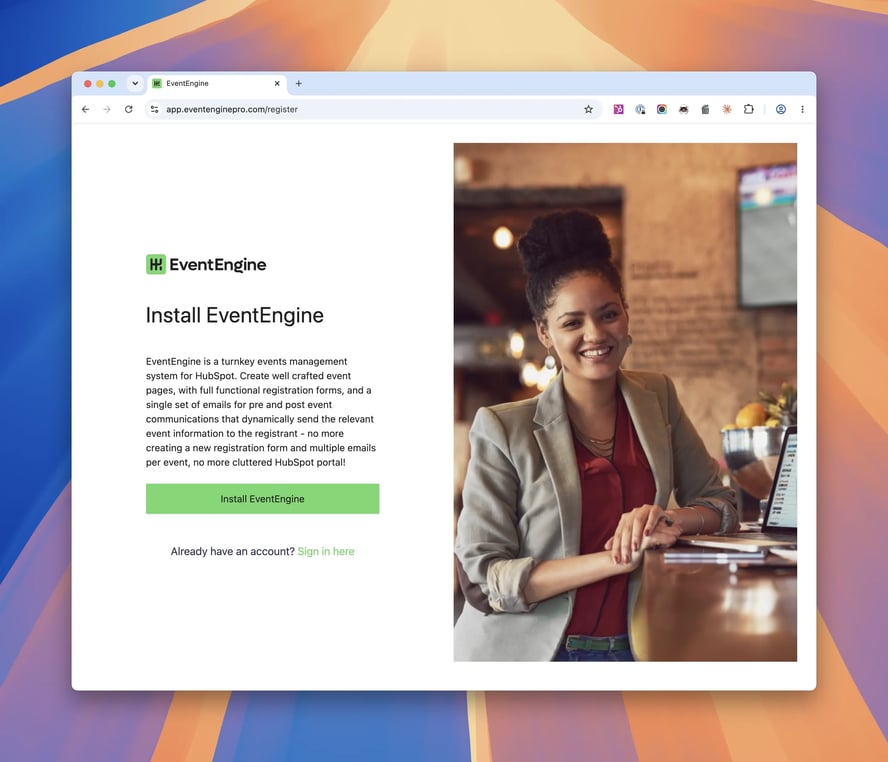
Your account gets created automatically through the HubSpot connection in the next step, so the button takes you straight into HubSpot.
Step 2: Connect your HubSpot account
You're now on HubSpot's "Connecting EventEngine to HubSpot" screen.
- Choose your account. HubSpot lists every account you have access to. If the list is long, use the search box to filter by name, domain or portal ID. Select yours and click Choose Account.
- Review the permissions. HubSpot shows everything Event Engine needs. You'll also see a red "You're connecting an unverified app" banner. That's expected: Event Engine installs by direct link rather than through the public Marketplace listing, so HubSpot flags it. It's safe to continue.
- Scroll down and click Connect app.
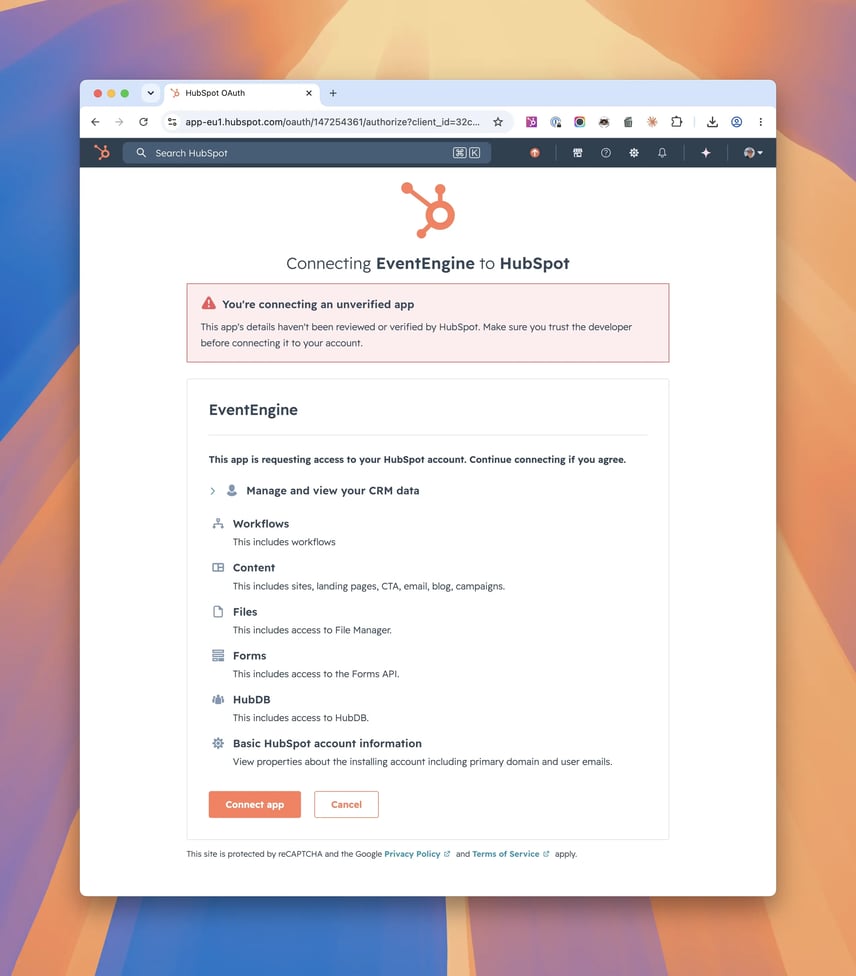
Why so many permissions? Each one maps to something Event Engine runs for you:
- CRM data, including its own Registration object plus contacts, contact lists, marketing events, and contact property settings. This is how registrations get tracked against your contacts.
- Workflows, so the reminder and post-event emails run automatically.
- Content (sites, landing pages, CTAs, email, blog, campaigns), for your event pages and emails.
- Files, for images and assets.
- Forms, for the registration forms.
- HubDB, which powers the event listing on your website.
- Basic account information, like your primary domain and user email.
Step 3: Create your Event Engine login
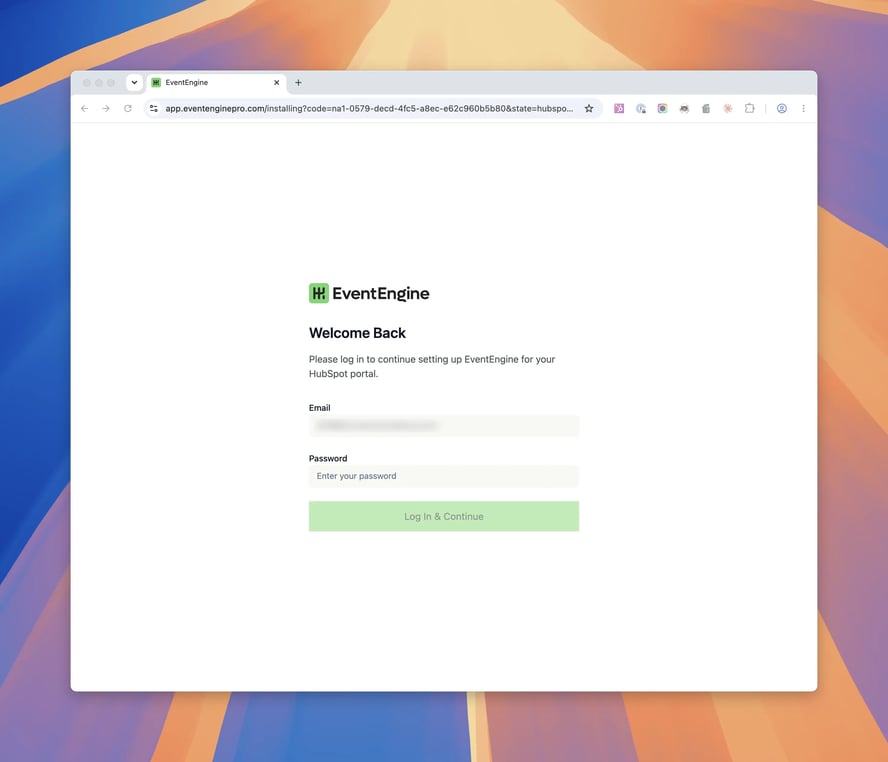
HubSpot sends you back to Event Engine to finish setup, with your email already filled in.
New customer? Set your password here. Returning? You'll see "Welcome Back", so just enter the one you have.
Click Log In & Continue.
Step 4: Start your subscription
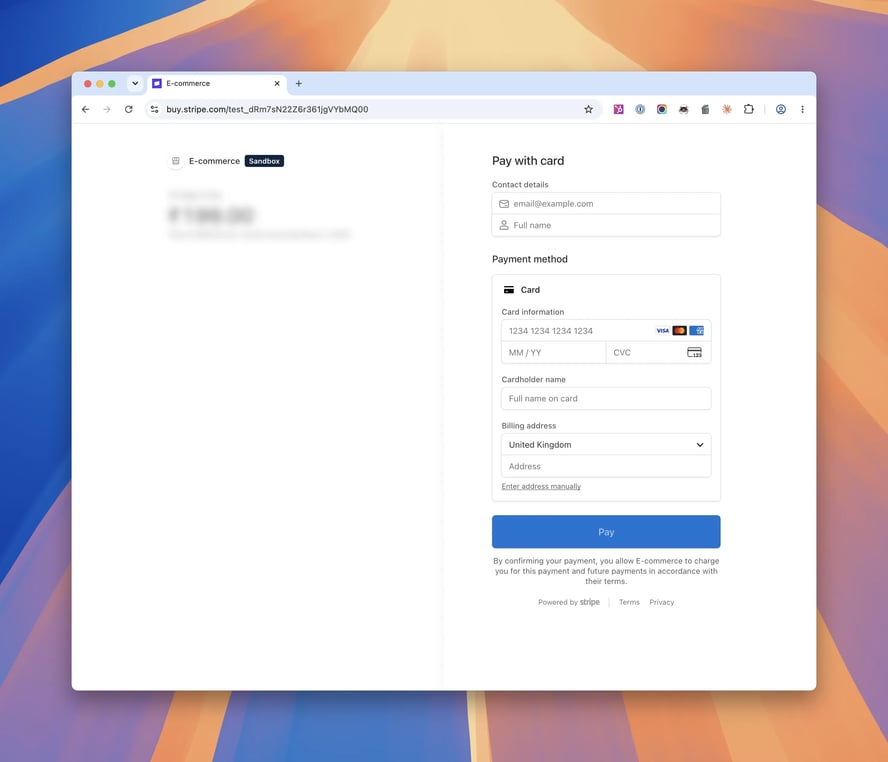
Next stop is the Stripe checkout.
The plan is $349/month with a 14-day free trial. Enter your contact and card details and click Pay. Nothing is charged until the trial ends, and you can cancel any time from your account settings.
Step 5: Set your categories and divisions
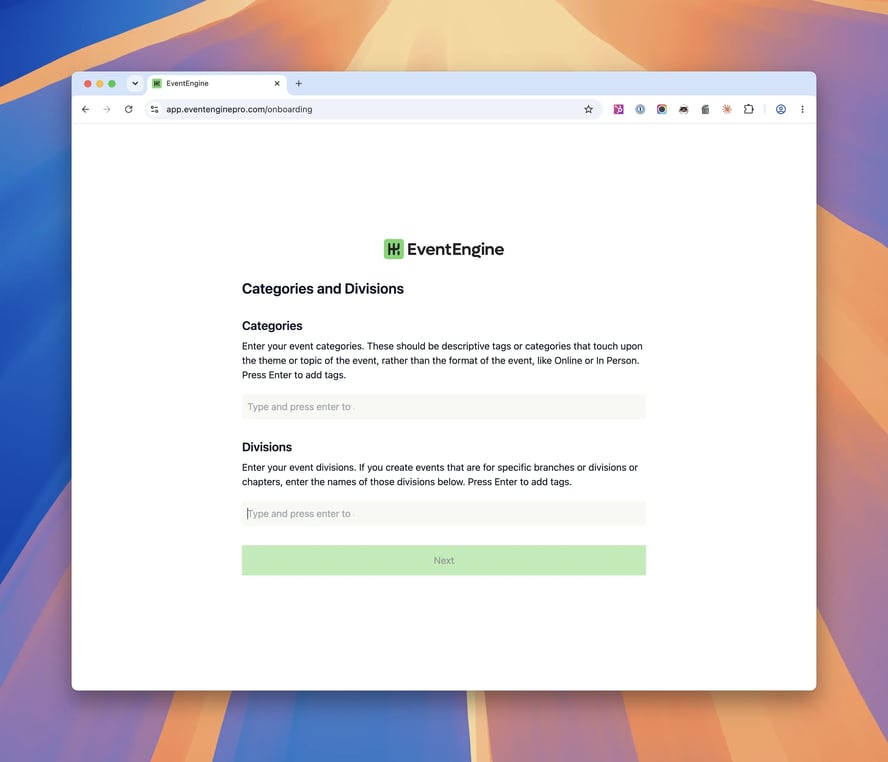
Now you're into Event Engine's own setup, starting with Categories and Divisions.
- Categories describe what kind of event it is: "Product Training", "Industry Insights", "AGM".
- Divisions split events by branch, chapter or region: "North", "Yorkshire Branch".
Type each one and press Enter to add it. Add as many as you like.
Nothing here is final. You can change these later, and add new ones on the fly while creating an event. Click Next.
Step 6: Set your event email timings
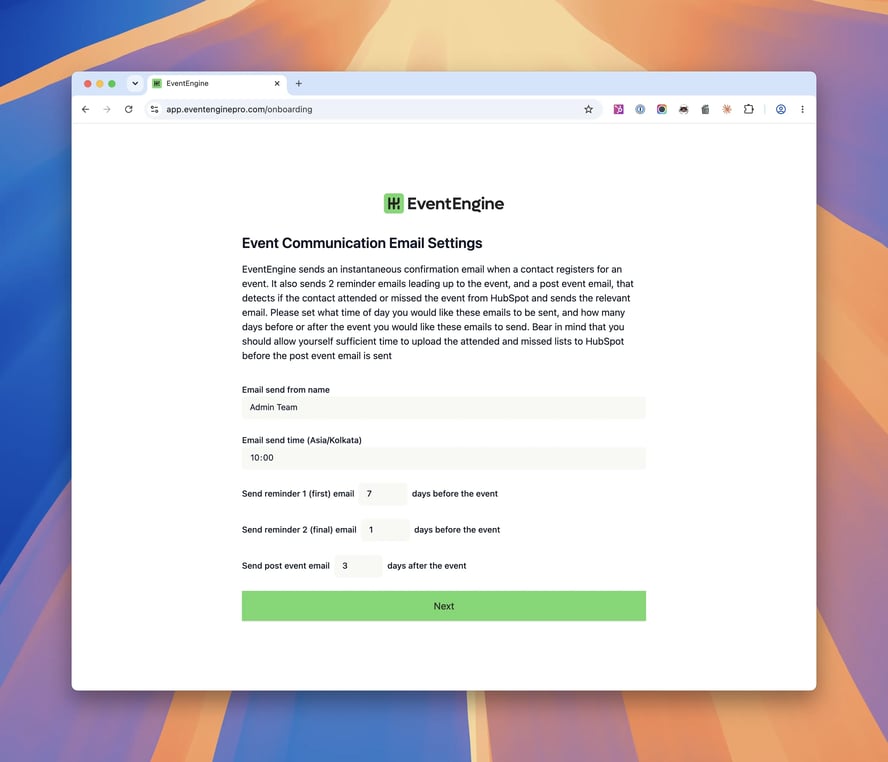
Event Engine sends your event emails for you. For every event, each registrant gets:
- a confirmation the moment they register
- 2 reminders before the event
- a follow-up afterwards. Event Engine checks HubSpot for who attended and who missed, and sends each person the right version.
This screen sets the defaults:
- Email send from name: who the emails come from, for example "Events Team"
- Send time: default 10:00 (Europe/London)
- Reminder 1: default 7 days before the event
- Reminder 2: default 1 day before
- Post-event email: default 3 days after
A tip on that last one: the follow-up needs your attended and missed lists in HubSpot before it sends. If you tend to upload those a day or two after an event, leave the delay at 3 days or more.
Click Next.
Event Engine now builds everything in your portal. You'll see "Creating properties" and "Creating assets" flash past, then a "What's next?" checklist. That checklist is the one-time HubSpot setup covered in Part 2. Click through it for now; your dashboard is on the other side.
Step 7: Create your first event
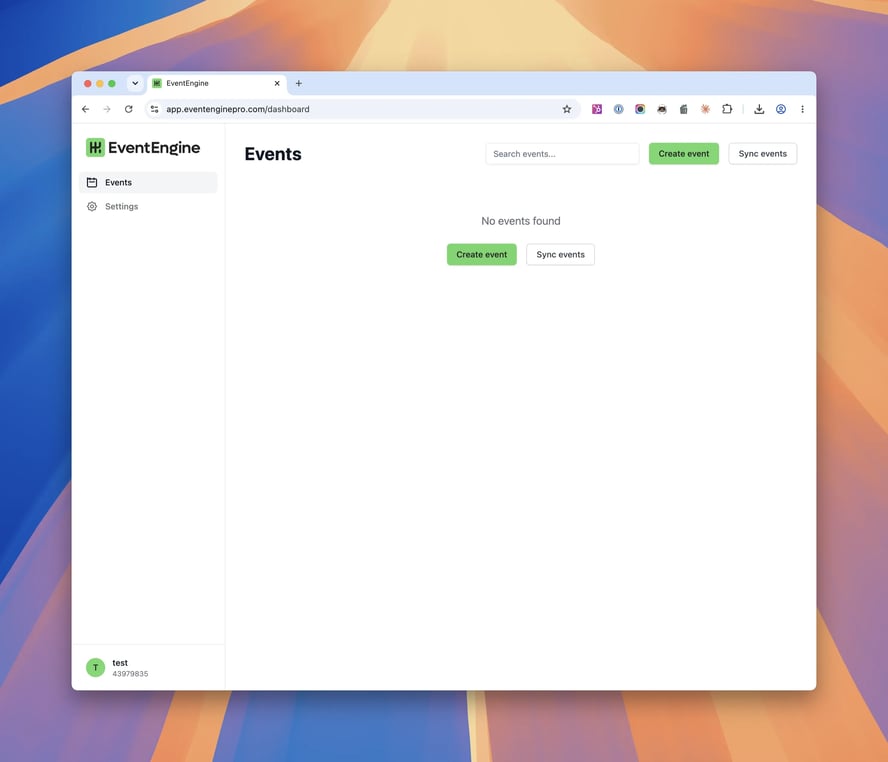
On the dashboard, click Create event.
Work down the form:
- Event name, typed straight into the big heading at the top.
- Event type: Online, Hybrid or In Person. Choosing Online swaps the venue fields for an Online Event URL field.
- Category and division: these pull from Step 5, and you can add new ones right here too.
- A short description for the event page.
- A featured image (optional). Drag and drop, or click to select.
- Start and end dates. Keep them in the future: past-dated events won't show on your website.
- Location, or the online URL for online events.
- The optional extras: About sections, Agenda, Speakers, Partners/Sponsors. Everything you add here builds out the event page.
- Registration information: a maximum capacity greater than 0 (or tick "No capacity restrictions"), and a registrations close date.
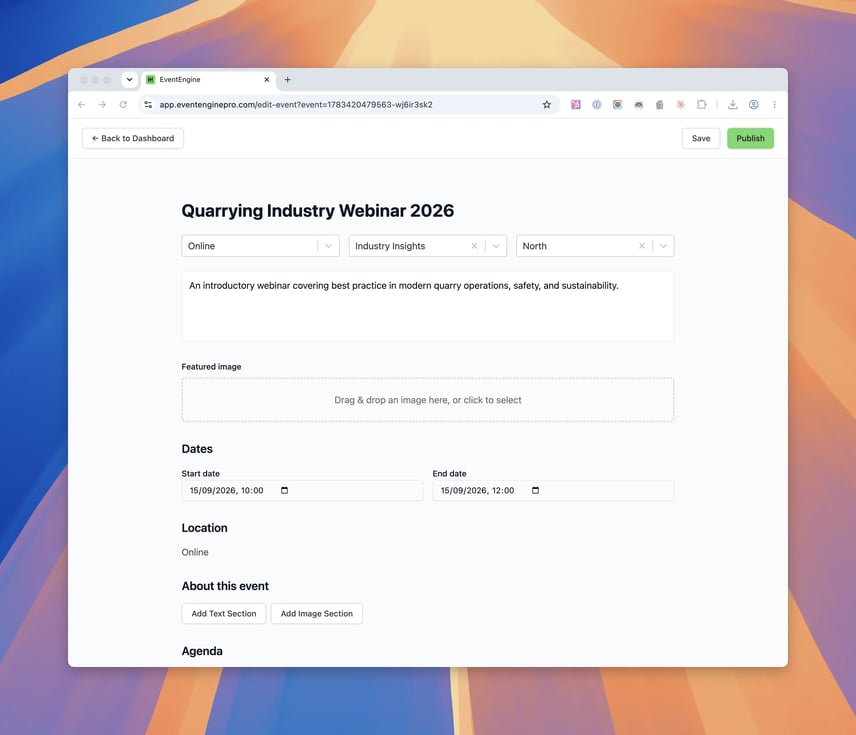
Click Save. If something's missing, Event Engine scrolls you straight to the problem ("Maximum capacity must be greater than 0" is the classic). Fix it and save again until you see "Event saved successfully".
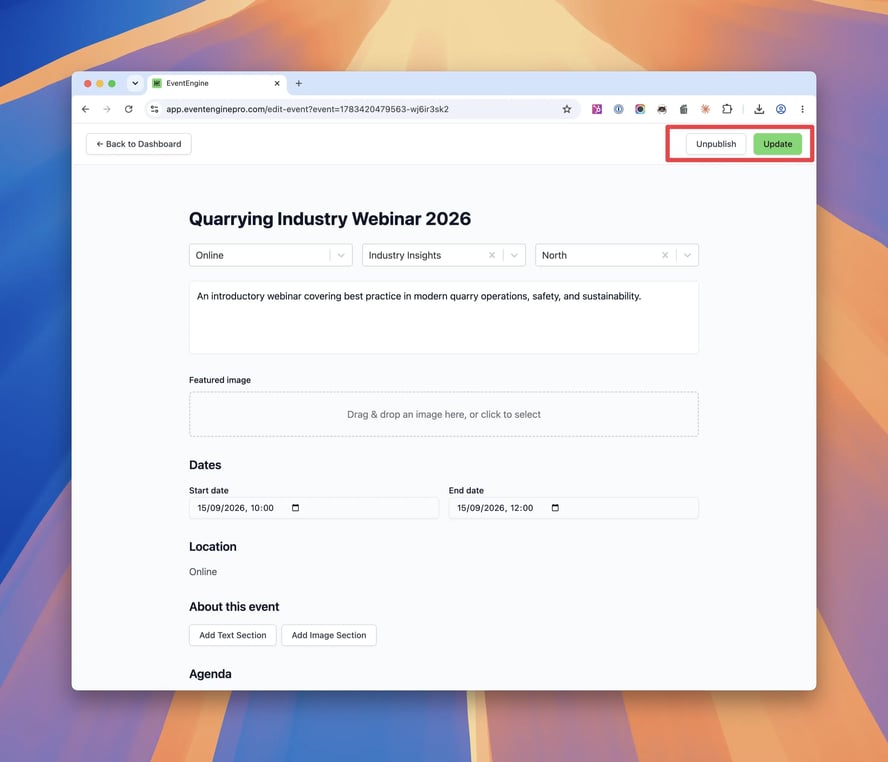
Now click Publish. The toolbar switches to Unpublish and Update, and a Cancel Event option appears at the bottom of the form.
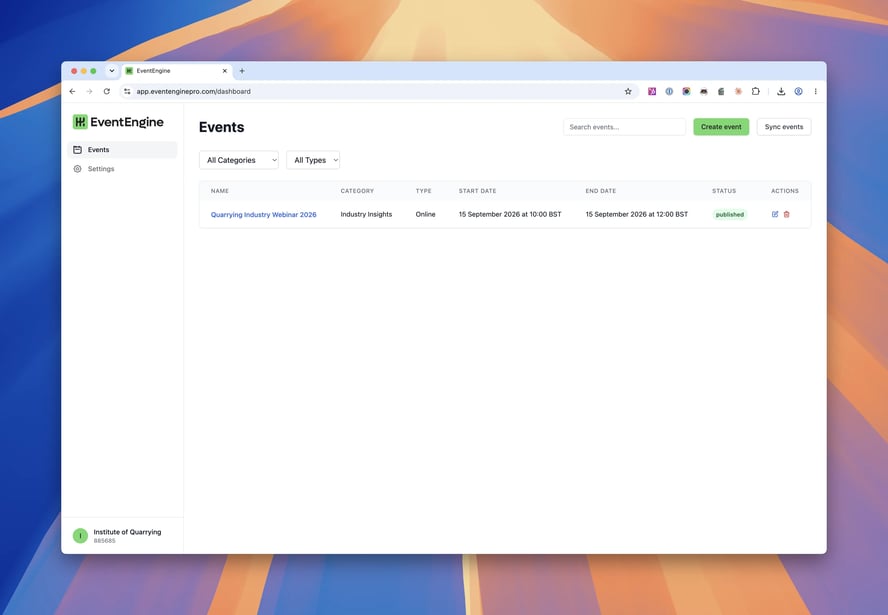
Back on the dashboard, your event shows with a green published status.
Before your event is fully live
Your event now exists in Event Engine, and it's already created a matching marketing event in HubSpot. Two things still stand between it and your audience:
- The emails. They install as drafts, and the workflow that sends them stays off until the HubSpot setup is finished.
- The website page. Your events need a page to appear on, and it doesn't exist yet.
Both take one pass through Part 2: Setting up Event Engine in HubSpot. Do it once and every future event you publish goes live automatically.
Prefer us to do it for you?
Email support@eventenginepro.com and we'll do the whole HubSpot setup for you, free of charge.
Quick troubleshooting
- "You're connecting an unverified app" warning. Expected. Event Engine installs by direct link, not through the Marketplace listing. It's safe to continue.
- Save or Publish does nothing on the event. There's a validation error further down the form. The most common one is Maximum capacity, which has to be greater than 0. Save scrolls you to the problem.
- Published event isn't on the website yet. Normal at this stage. Complete Part 2 to build the events page. Also check the dates are in the future, because past-dated events won't display.